There seems to be a revival happening in the world of painted furniture, but its not like the good old ‘changing rooms’ days of the early 90’s. I recall aged 13 painting my first two-tier table. By today’s standards it would be viewed as positively twee, but back then it was all about the pattern (stencils? everywhere, please), shine and colour. For this particular project, I stripped both the table tops, did a strawberry vine hand-painted decorative border on each, painted the legs gloss forest green, and finally varnished the whole thing. This gets 3 black marks by today’s standards. The ‘chalky paint’ look has come to dominate the scene, the more unfinished looking the better. When painting furniture, one must try their best to miss as many corners and edges as possible, if not achieiving this then attacking your carefully painted piece with a healthy dose of sandpaper and strategically positioned chips, the more the better. As my pal Ali said the other day, don’t forget to start off with a truly gawdy colour which you then allow to peek forth, reminiscent of some long-forgotten era where green gloss and strawberry vine might actually have been considered fashionable.
Painted furnitiure is quite handy for the thriftily minded like me; buy an ugly old thing cheaply and liberally apply some Annie Sloan paint and wax til it wouldn’t look a bit out of place at any French brocante. Of course, Farrow and Ball or indeed the recently discovered Craig and Rose 1829 range will do just as nicely but for the purist, the chalkier the paint finish the better. I haven’t done a huge amount of furniture painting within the current trend but i recently did this project and i think its given me the bug! Mainly because of the joy in working with the beautiful paint range and textures from Craig and Rose. I have prevously used Crown or other standard range eggshell finish but working with a more finely made paint makes a remarkable difference for both durability and overall look. Not to mention the simple pleasure of reading the paint charts (sounds almost as appealing as watching paint dry, but read on….). For example, choose Porcelain Blue and you will discover that it is ‘a colour inspired by an Adelaide Alsop Robineau 1865-1925 porcelain vase.’
This bentwood chair was a street find. This doesn’t happen often so when it does i get all a-flutter. Harking back to the good ol’ days again, we had a series of Bentwood chairs at home in Tullyroan, mum had painted them all white gloss (same mistake as me it seems) and i remember being less than fond of them. So here i am investing an afternoon’s work in doing just about the same, but 25 years later. The apple doesn’t fall far…

Firstly i applied a layer of standard undercoat, i have skipped this in the past but you end up wasting more of your actual paint by having to do additional layers, so best to do this when working with untreated wood. If you are impatient like me you can thin it down to make it more workable, but make sure to use a nice attractive tin of pomodorini cherry tomatoes for doing so in case you suddenly decide to take pictures of the whole operation.
 Here we have the chair at stage one, drying in sub-zero temperatures outside.

I then applied lavishly in two coats this delightful colour given to me by Gemma called Moonstone Grey. (“Originally named after a semi-precious stone from Sri Lanka”). Its a classic ‘of the moment’ shade; grey and blue and green all wrapped up in one.
 Now here’s the bit that i rarely get around to. Go over all the edges and corners with fine sandpaper to create a distressed look. I fought my anti-commercialist tendencies and bought some of this Annie Sloan soft wax, this protects the finish against proper wear and tear chips which annoyingly never look that good or intentional.
 I am not a fan of distressing the hell out of the item so as you can see here it’s quite subtle. In fact, come to think of it, you can’t see it at all but we’ll just blame the photographer for that.

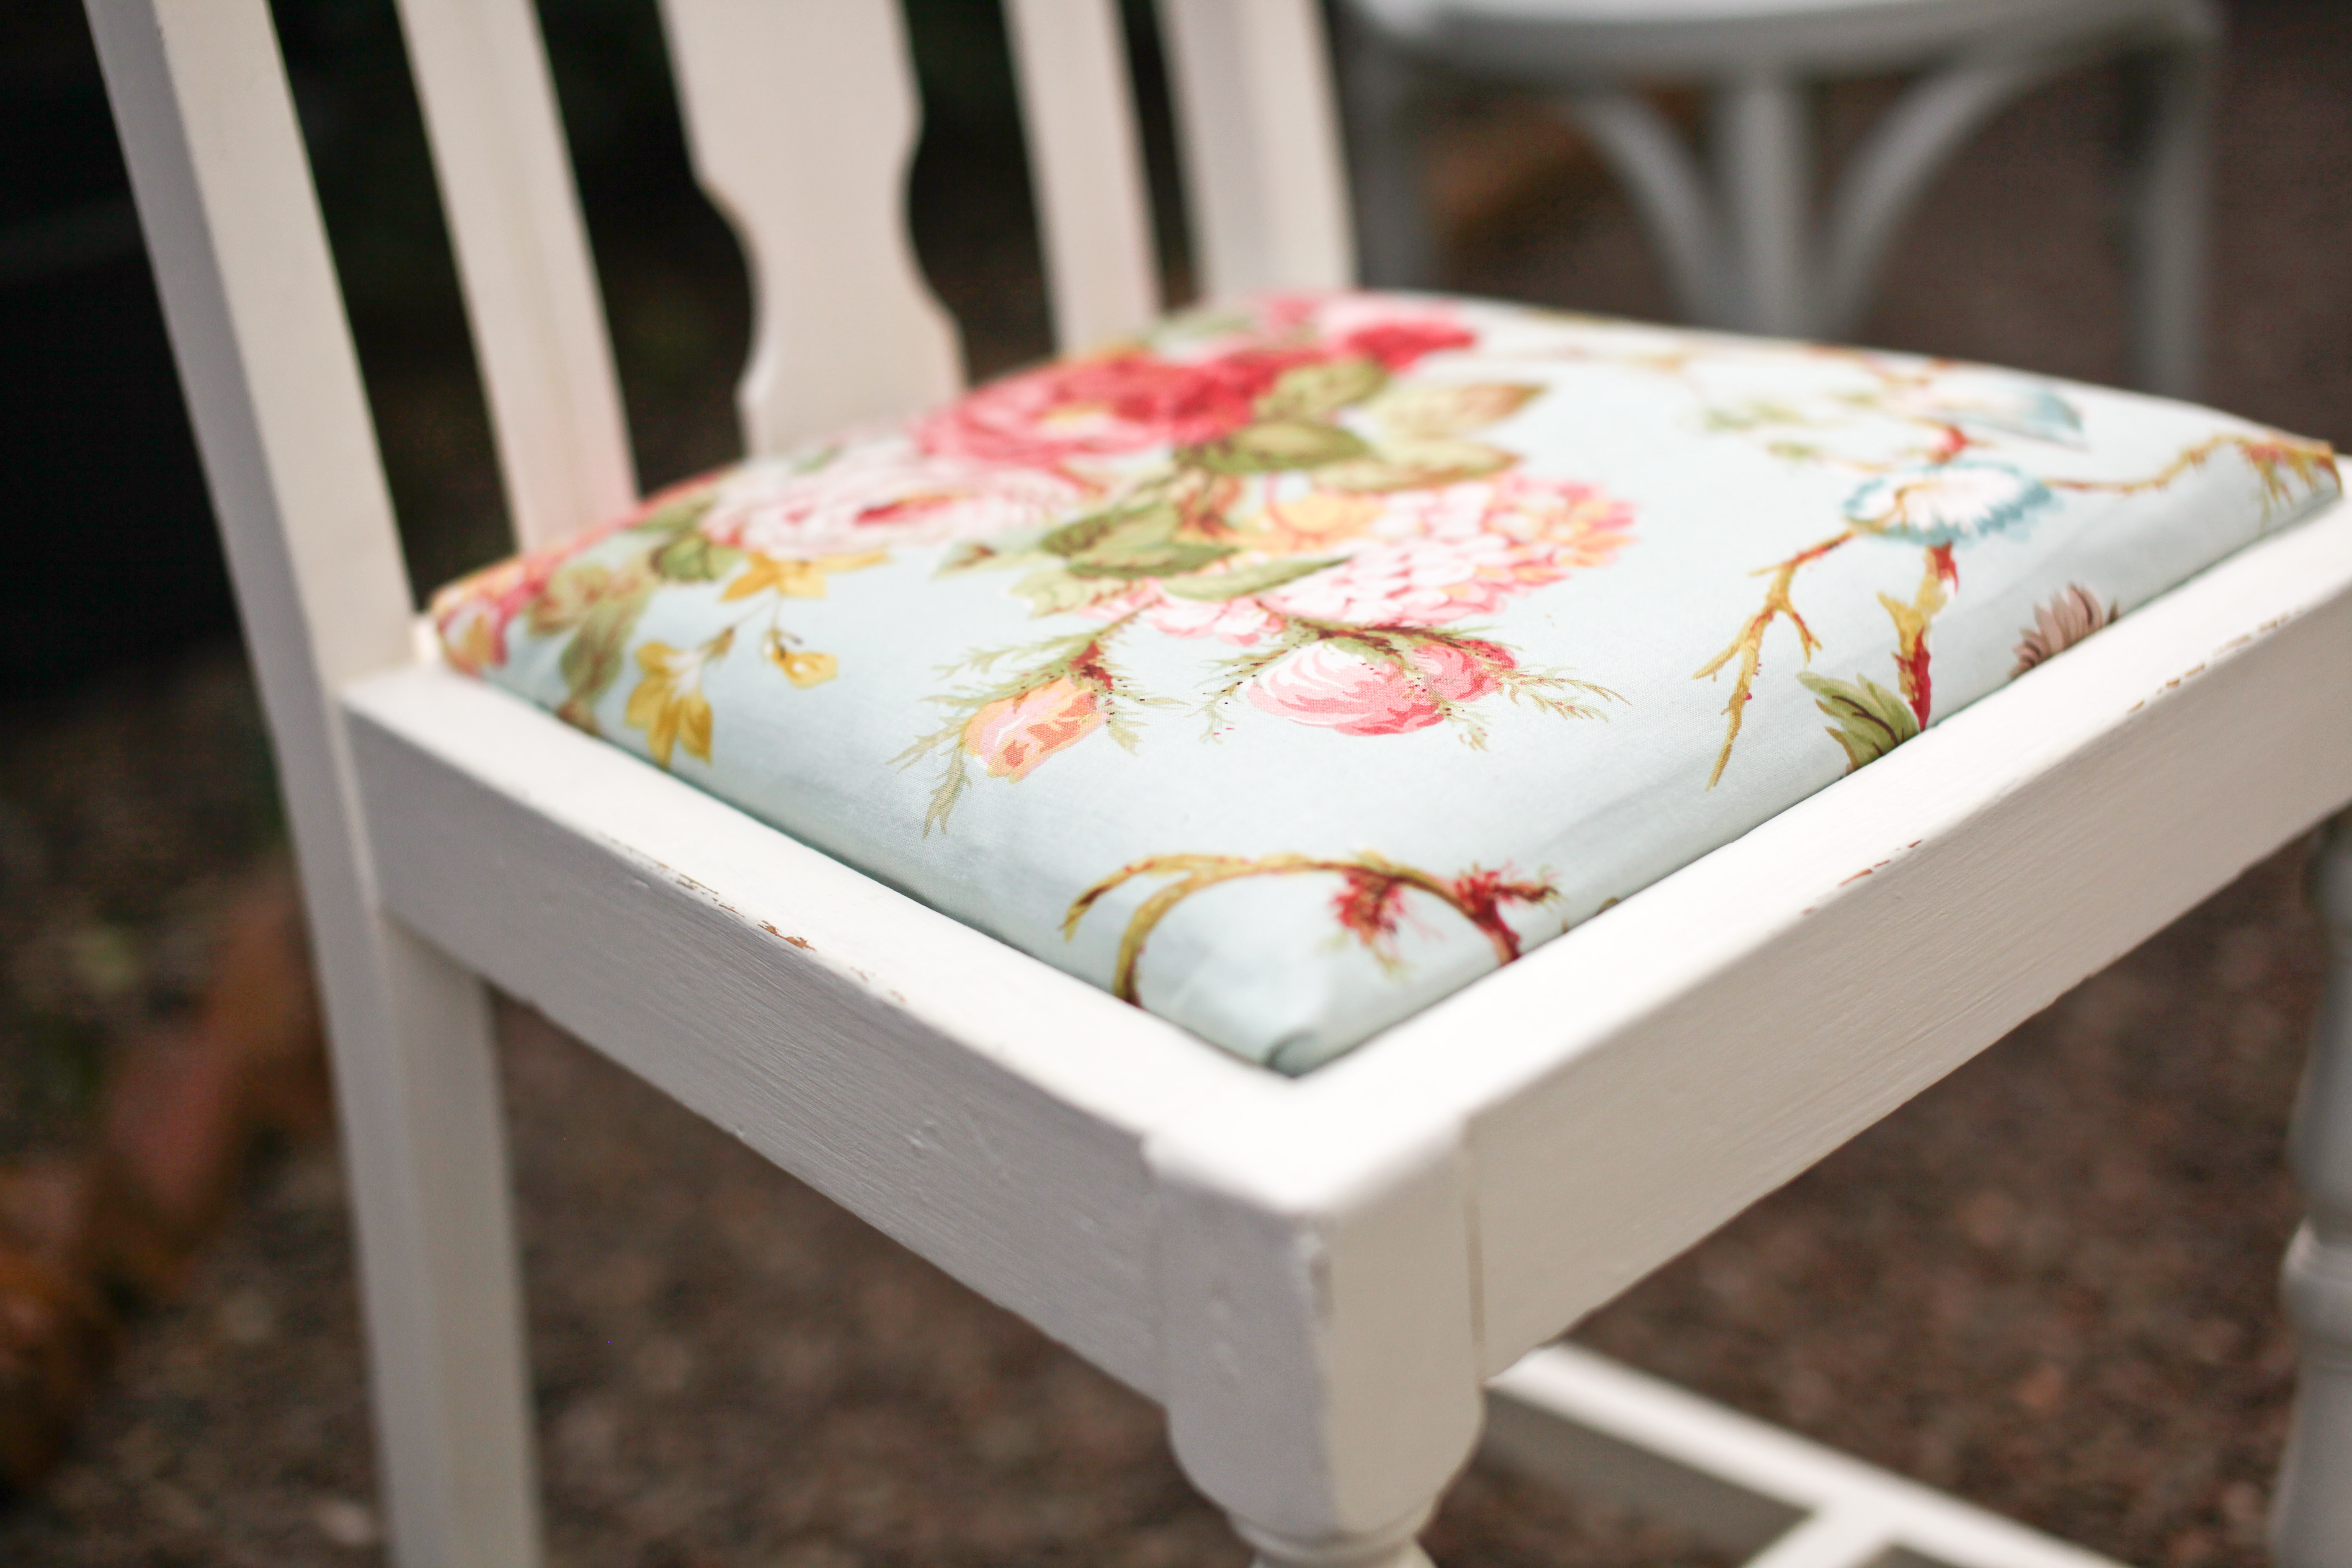
 Not satisfied with just one chair, i decided to re-vamp a former project which didn’t quite stand up to the test of time and community living. Incidentally, i bought this chair for 50p at an auction so not much is lost if it all goes wrong. I followed the same procedure again and then replaced the seat cover. All you need for that is a staple gun and some nice fabric.
 I love this material by Colefax & Fowler, I picked up a scrap in a charity shop and have been trying to make it last ever since.

Pingback: The Old Hen House | Salvage Sisters