Over the years i have built up a reasonable sewing repertoire of quilts, bags, organisers and other handy household items. However when it comes to one simple aspect of sewing, namely doing so in a long, straight line, i wouldn’t say i am particularly accomplished. Its the tedium of measuring and marking out that doesn’t appeal. So where possible, i cut straight lines by using existing selvedges to roughly guide me, and other contraban methods for cutting perpendicularly, where squares or rectangles are required. So, if i had known how many straight lines would need cut and sewn, and how integral this would be to the functionality of the item, i might not have embarked upon my most recent project, a large roman blind for the guest room.
When doing an unfamiliar project, i try not to buy new material for it in case its a complete disaster. The only suitable material i had in terms of size, weight and stye had previously been made into a quilt. Not a very good quilt though, so i was happy to pull it apart again, although i did have to sew a few odds and ends together in order to have a large enough piece for the main body of the blind.

I dug out various bits of plain white cotton and stitched them all together to make the backing. I used this tutorial for the instructions, and was glad i did as it’s not a very intuitive project. Hurdle number one is making the basic blind fit the window. This occurred almost certainly by chance on this occasion – as stated this kind of thing is not my forte. Then, i made casings for the dowels. Next comes the tricky bit…marking out where the casings go. So not only does each casing need to be sewn on straight as a die, to accomodate the dowel, but also horizontal as [other suitable simile] so that the drawstring mechanism works. Marking chalk and a long piece of wood are essential here.


The next stage is attaching the fabric onto the top wood support. I used a staple gun but you could attach it with velcro too. I then realised i needed blind rings and decent string so there was a small interlude in proceedings whilst ebay was consulted. The rings need to be sewn by hand, at least 3 per dowel, which is a bit arduous (i hate hand sewing), then eye hooks are aligned with each row of rings and attached to the top wood piece. Buying individual wooden dowels tends to push the price up, so instead i used plastic-coated bamboo from Homebase at £5 for the lot. And then, the moment of truth….
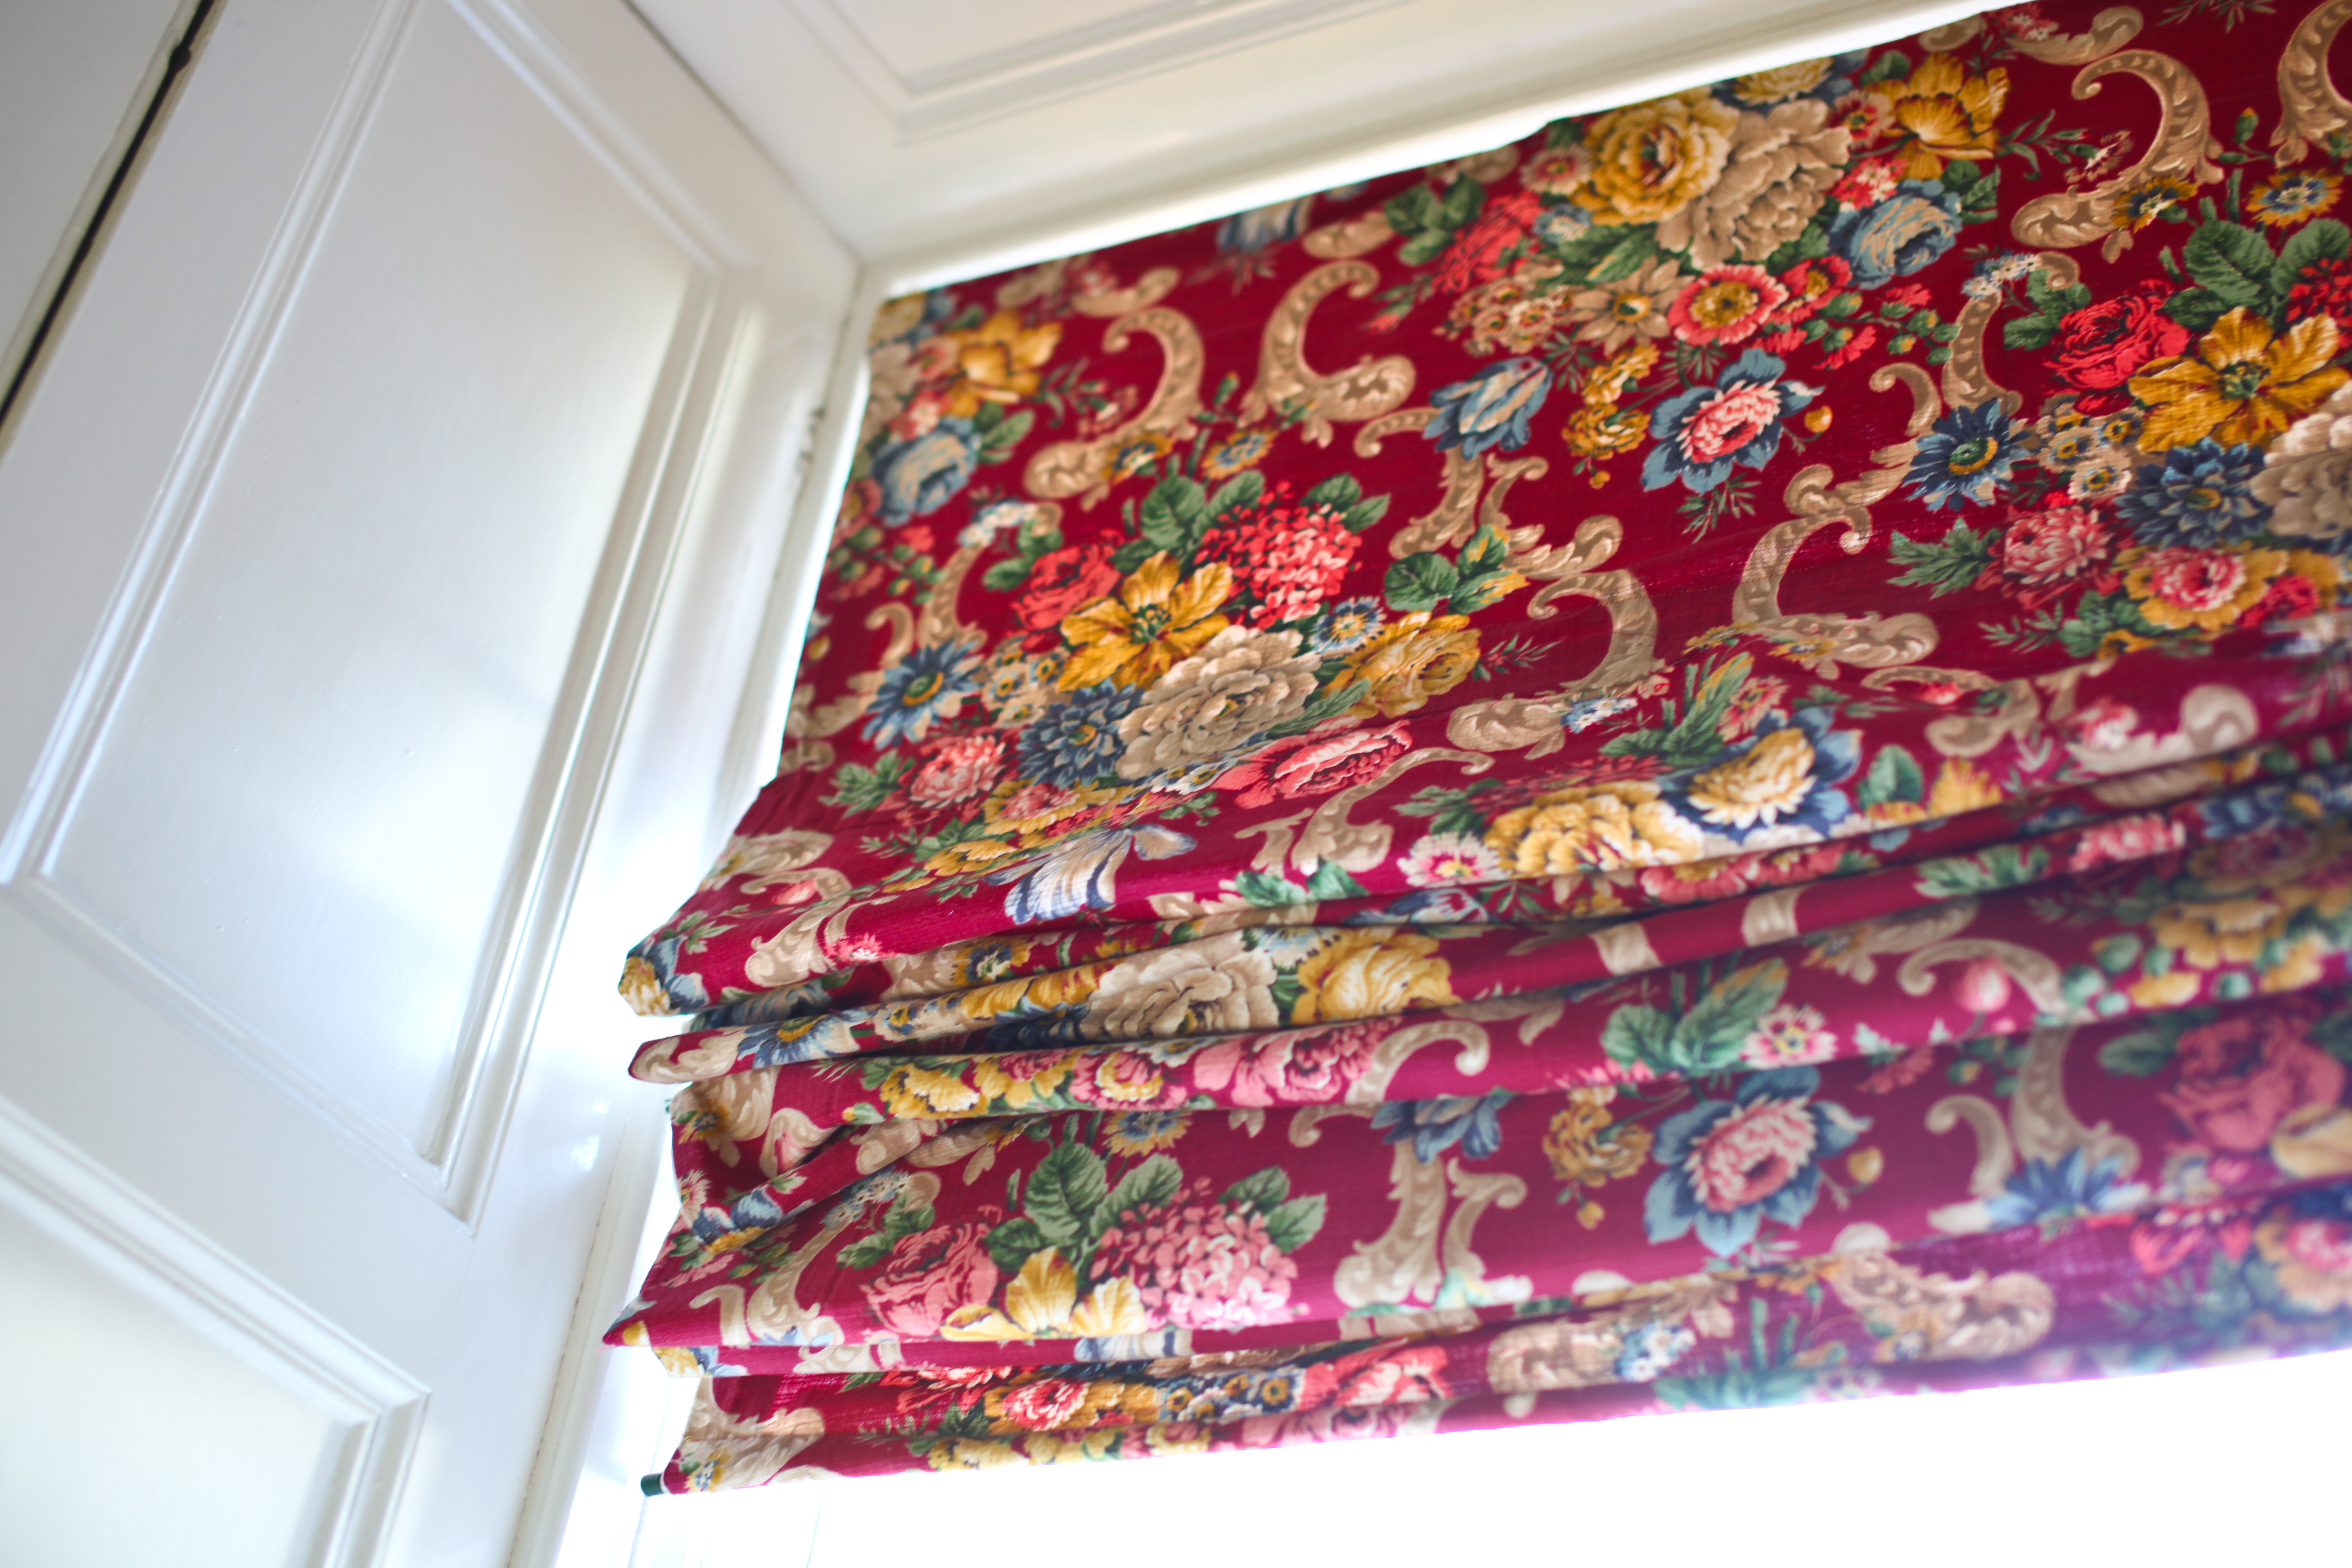
 .…and the bit where i realised how essential the measuring accuracy was. If you look closely, you will note that the bottom dowel is at an angle to the rest of them. This is because of my school-boy error whereby i measured each strip against the one above thus losing around 4 cm by the bottom end of the blind. So when pulled up it all looks a bit wonky.
Furthermore, though the fabric looked quite heavy, as you can see it definitely is a long way from black-out!

On the up side, when all bunched up it looks pretty good and the layering turns out to be quite forgiving of all my inaccuracies.


Pingback: The Room That Will Never Be Finished | Salvage Sisters